How to enable the HAproxy statistics page in OPNsense
Step 1: Edit Global Settings
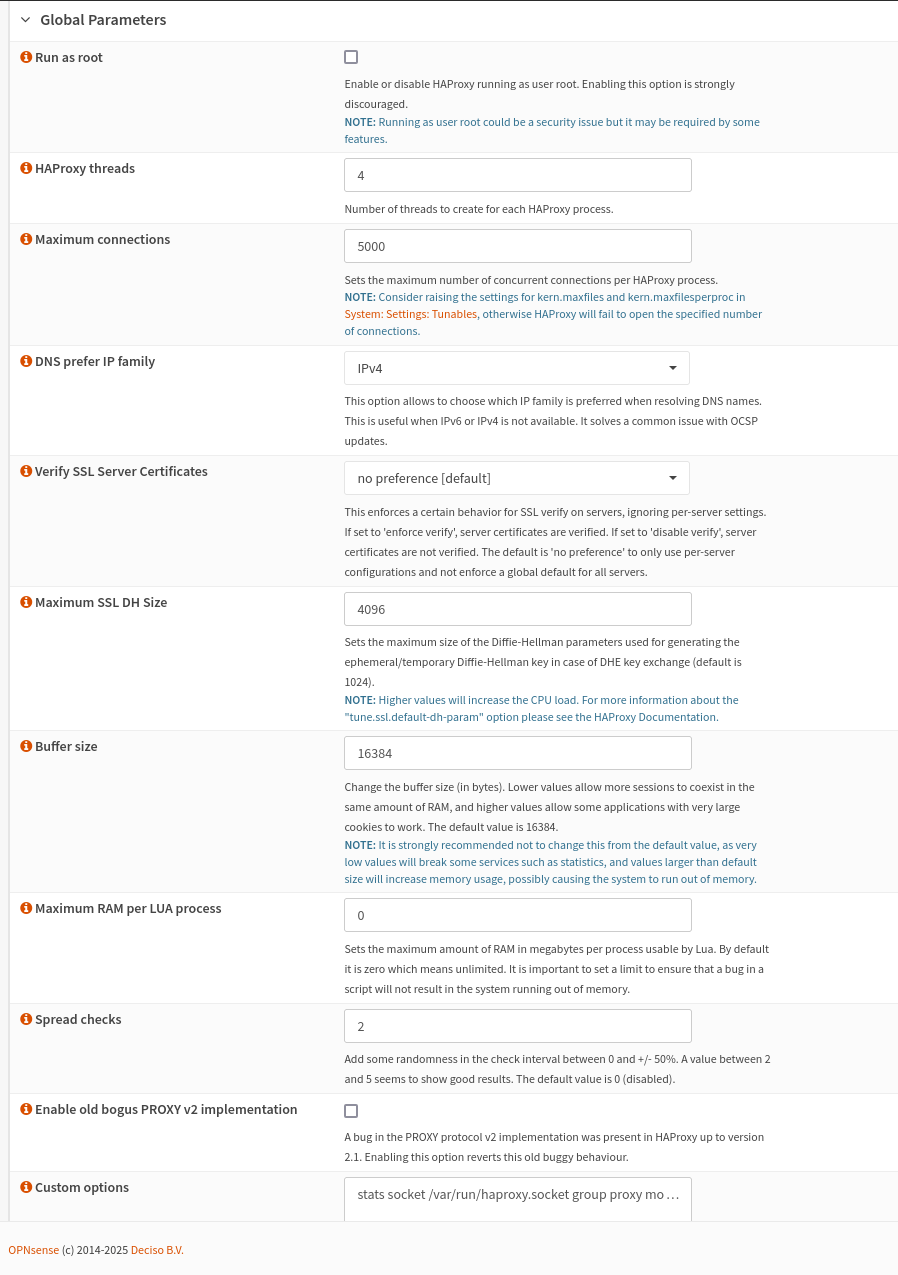
In the left-hand menu, go to Services , select HAPproxy and then and then Settings.
-
- Under the Settings tab, locate the Global Parameters
- Enable ' Advanced Mode' on the top left of the page
- Add or modify the following configuration line in the “Custom Options” field (on the bottom of the picture):
This enables a UNIX socket for administrative purposes.stats socket /var/run/haproxy.socket group proxy mode 775 level admin
Step 2: Configure Statistics in Frontend Settings
Configure Statistics in Frontend Settings:Scroll downGo tofindVirtualorServerscreateinathefrontendTopdedicated to serving statistics.menuAddClick the + sign and add a newfrontendPublicbyService:clicking on “Add” if one does not already exist for this purpose.'StatsFrontend'- In this frontend, configure it as follows:
- Set
Name:Name:For example, “StatsFrontend”.StatsFrontend - Set
BindListenAddress:Adressess:Usesetanto local IP addressaccessibleoffrom your networkOPNsense (e.g.,127.0.0.1:8404orwithanytheotherdefaultunusedportport).8822 - Set
Mode:TypeChooseto“HTTP”.default HTTP/HTTPS (SSL offloading) [default] UnderScroll all the way down to “AdvancedSettings”Settings”, addthistheselinelines in the “CustomOptionOptions”Pass-through” field:
- Set
-
-
-
Replacestats enable stats uri /haproxy?stats stats realm Haproxy\ Statistics stats auth admin:password123adminwith your desired username andpassword123
-
-
Save and Apply Changes:- Click on “Save” and then apply changes by clicking on “Apply”.
-
Allow Access to the Statistics Port:
- Navigate to
Firewall > Rules. - Select the appropriate interface (e.g., LAN or WAN) where you want to allow access.
- Create a new rule with these parameters:
- Action: Allow.
- Protocol: TCP.
- Source: Define specific IPs or networks allowed access (e.g., your management workstation’s IP).
- Destination: The IP of your OPNsense instance running HAProxy.
- Destination Port Range: The port you configured for statistics (e.g., 8404).
- Navigate to
-
Save and Apply Firewall Rule Changes:
- Save the rule and click on “Apply Changes”.
- Open a web browser from a device allowed by your firewall rules.
- Enter the URL for accessing statistics, such as:
http://:8404/haproxy?stats - Enter the username (
admin) and password (password123) you configured earlier when prompted.
Step 2: Configure Firewall Rules
Step 3: Test Access to the Statistics Page
If everything is configured correctly, you should see HAProxy’s statistics page displaying real-time data about connections, backends, frontends, etc.